
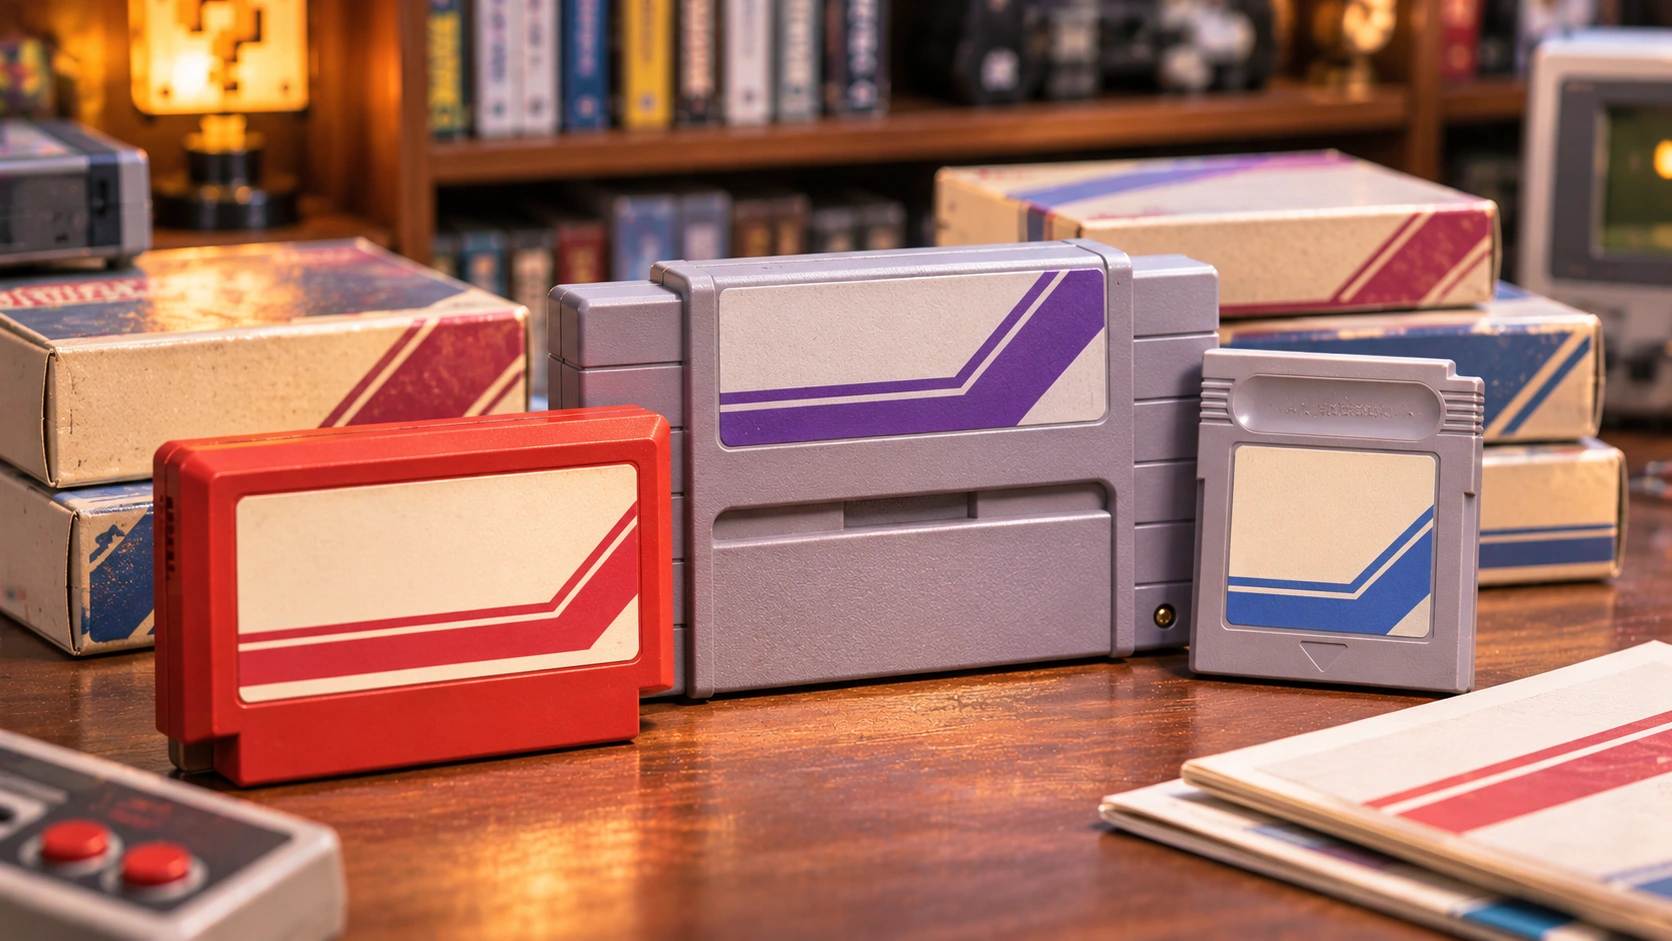
How to Care for Retro Game Cartridges: Cleaning, Storage, and Preservation Tips
Retro game cartridges for systems such as the Famicom, Super Nintendo, Nintendo 64, and Game Boy are more than just ways to play games. They are collectibles filled with memories. Proper care helps reduce the risks of dirty contacts, moisture damage, fading labels, and deterioration of internal components.
For retro game collectors, the appeal of a cartridge goes beyond the game itself. The plastic shell, original label, cardboard box, manual, and included accessories are all part of the collecting experience. Complete copies with their original packaging are particularly desirable. However, cartridges that are decades old can develop problems from use and storage. Even when the outside looks fine, the contacts may be dirty, electronic components may have deteriorated, or the save system may no longer work. This guide explains how to clean, inspect, and store retro game cartridges safely while considering both functionality and collectible value.
1. Understand the Components Before Cleaning
A typical retro game cartridge contains a plastic shell, circuit board, memory chips, and electrical contacts that connect to the console. Some cartridges contain batteries that preserve saved games, while others use different memory technologies or have no internal save function at all. Cartridge construction varies between systems, including the contact layout, shell-opening mechanism, and internal components. Before cleaning or repairing a cartridge, identify its exact type and model. This is especially important for rare games that may use unusual materials or circuit boards. For collectors who want to preserve originality, starting with the least invasive method is generally the better approach.
2. How to Clean Cartridge Contacts Safely
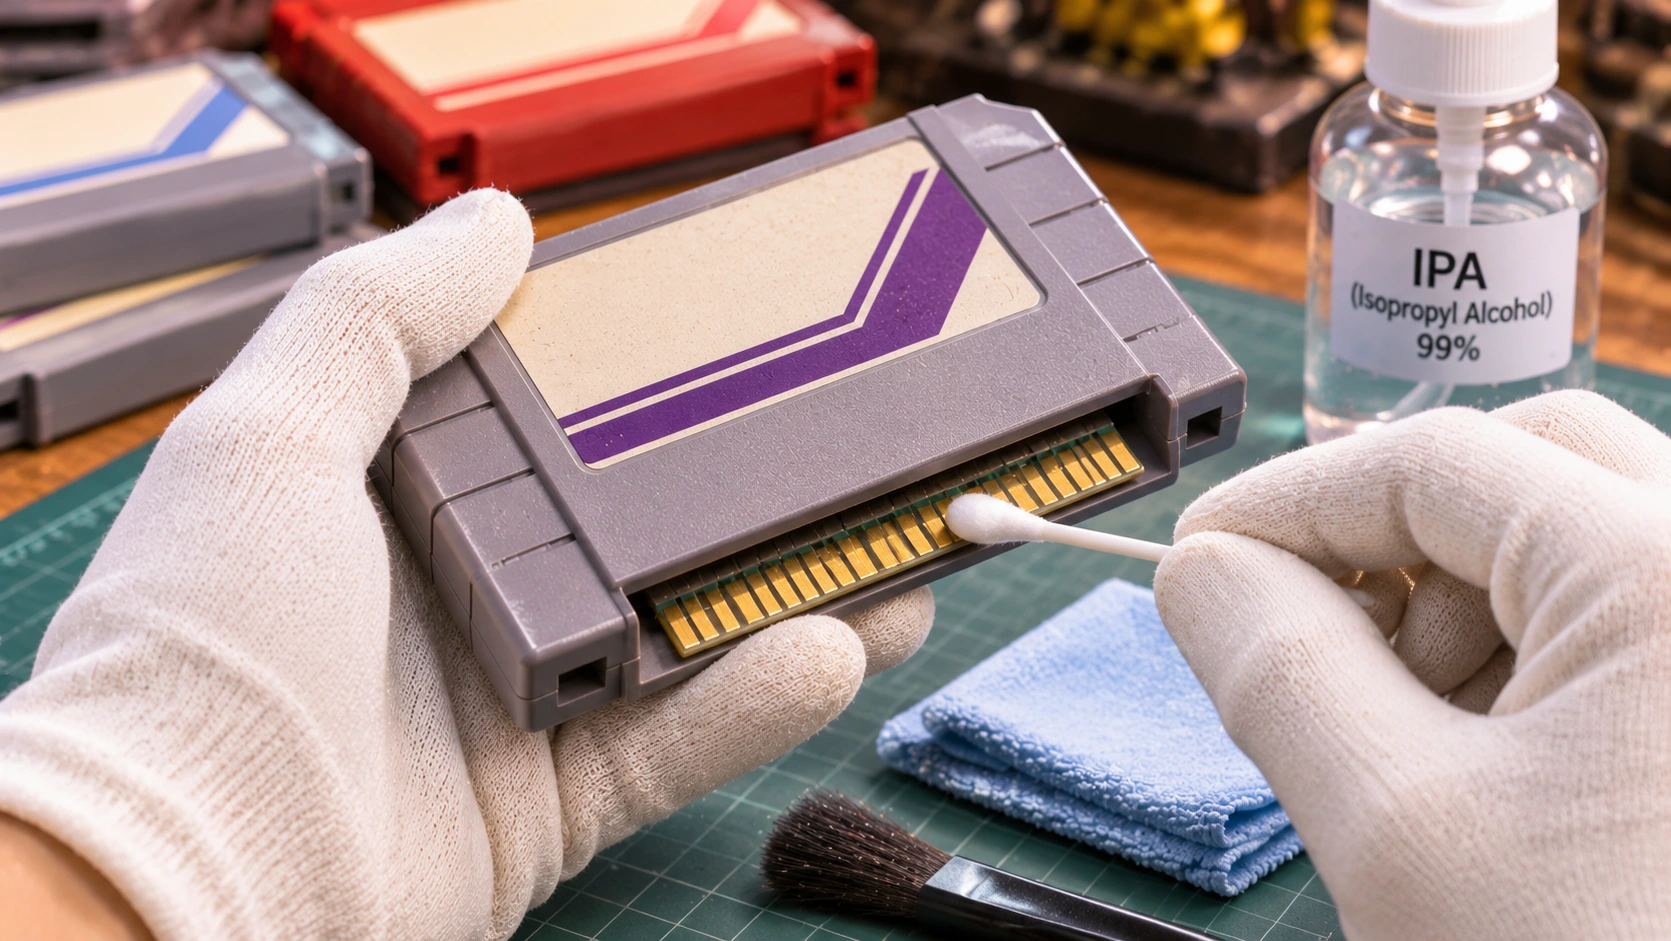
One common problem with old cartridges is that the console fails to recognize them or displays a blank screen. Dirty or oxidized electrical contacts may be responsible. Always turn off the console and remove the cartridge before cleaning. Use a clean, low-lint cotton swab lightly moistened with high-purity isopropyl alcohol (IPA) suitable for electronics. Gently wipe the contacts without allowing liquid to accumulate inside the cartridge. If using IPA at approximately 90% concentration or higher, choose a product without additives that leave residue. Work in a well-ventilated area away from flames and sparks. Allow the contacts to dry completely before reinserting the cartridge. Avoid sandpaper, aggressive erasers, metal polishes, and abrasive materials. These can damage the contact plating and increase the risk of future corrosion. If cleaning does not solve the problem, the fault may lie in the console's cartridge connector or the cartridge's internal circuitry rather than the contacts alone.
3. Why You Should Not Blow Into Cartridges
Many people who grew up with the Famicom or Nintendo consoles remember blowing into cartridges before inserting them. Although it sometimes seemed to work, blowing with your mouth can introduce moisture and tiny saliva droplets onto the metal contacts. Residual moisture may increase the risk of corrosion over time. If dust is present around the contacts, use an appropriate cleaning method instead of blowing into the cartridge. Avoid strong air pressure that could push debris farther inside or damage components. Repeatedly inserting and removing a cartridge to clean the contacts through friction is also not recommended, as it may increase wear on both the cartridge and the console connector.
4. Clean Plastic Shells Without Damaging Them
Most retro cartridge shells are made of plastic, but the materials, colors, and surface finishes vary between manufacturers and production periods. For ordinary dust, use a soft brush or clean microfiber cloth. If dirt is present on plastic areas away from labels and openings, carefully wipe the affected area with a slightly damp cloth. Prevent water from entering the cartridge. Do not spray cleaning products directly onto the shell or immerse the assembled cartridge in water. Avoid acetone, paint thinner, bleach, and aggressive solvents, which can discolor, weaken, or crack certain plastics. If the plastic has yellowed or changed color with age, do not rush into chemical whitening treatments. Discoloration may involve changes within the material rather than simple surface dirt, and restoration attempts can introduce additional risks.
5. Protect Original Cartridge Labels
The original label is an important part of a collectible cartridge, especially when its artwork and printing remain in good condition. Older labels may use different papers, coatings, inks, and adhesives. Some are particularly sensitive to moisture, light, and cleaning chemicals. Never apply alcohol or cleaning solutions directly to a label without verified material compatibility. They may dissolve ink, fade colors, or weaken adhesives. For loose dust, use a soft brush carefully. Avoid rubbing areas where the label is already peeling or fragile. Do not use ordinary adhesive tape or household glue to repair lifting labels. Adhesives may discolor, leave residue, and complicate future conservation. For collectors, preserving an original label with honest signs of age may be preferable to making permanent changes in an attempt to restore a new appearance.
6. Old Save Batteries Can Fail
Some cartridges, including certain RPGs and games with save features, use an internal battery to maintain data stored in SRAM. When the battery runs out, existing save data may be lost, and new progress may no longer be retained. However, not every cartridge uses a battery. Some rely on EEPROM, flash memory, or other storage technologies. Check the specific game's hardware before deciding whether a battery replacement is necessary. On many cartridges, replacing the battery requires opening the shell and soldering components on the circuit board. Incorrect work can damage circuit traces or nearby parts. If preserving the original save file matters, investigate compatible backup methods before removing the battery, since disconnecting it may erase the data. For rare or valuable cartridges, an experienced retro game repair technician may be the safer choice.
7. Store Cartridges in a Stable Environment
Store cartridges in an area with relatively stable temperatures, away from excessive heat and prolonged high humidity. Avoid direct sunlight near windows. UV exposure and heat may fade labels and accelerate changes in plastic color. If original dust covers or protective cases are available, use them to reduce dust exposure and accidental impacts. For loose cartridges, choose appropriately sized storage cases that do not squeeze or place pressure on the shell. Avoid unstable piles of cartridges and areas vulnerable to leaks or condensation. If using sealed plastic storage containers, monitor internal humidity periodically and never seal damp cartridges inside.
8. Preserve Cardboard Boxes and Game Manuals Separately
For retro game collectors, original boxes and manuals can be just as important as the cartridges. Cardboard packaging for Famicom, Super Famicom, Game Boy, and other older games may be vulnerable to crushing, fading, creases, and moisture damage. Keep boxes in a clean, dry location without excessive pressure. If using transparent box protectors, choose materials suitable for long-term storage and sizes that do not compress or distort the cardboard. Avoid applying adhesive tape directly to original packaging. As adhesives age, they may discolor and damage printed surfaces. Handle manuals and inserts carefully, avoid creating additional folds, and keep them away from wet or oily hands.
9. Should You Test Cartridges That Have Not Been Played for Years?
A cartridge that has been unused for many years may still function perfectly, but occasional inspection can help identify developing problems. Before inserting it into a console, examine the contacts, shell, and visible areas for cracks or unusual damage. If you notice green or white deposits on metal, signs of liquid exposure, or suspicious deterioration, do not immediately insert the cartridge to test it. Once the cartridge appears safe, test it using a console known to be in good working condition. For games with save functions, check both whether the game starts and whether progress can be saved and retained. If problems occur, investigate the cartridge, console, and connectors separately to avoid repairing the wrong component.
10. Repair or Preserve the Original Condition?
For collectible cartridges, repair is not always the best option. Replacing the shell, label, battery, or internal components may restore functionality, but it can also affect originality and perceived collectible value. For rare games, consider replacement parts carefully and retain original components when it is safe and practical to do so. If repairs are performed, record the date, replaced components, and work completed. For cartridges that still function correctly, appropriate cleaning and storage may be sufficient. There is no need to open or modify internal components without a clear reason.
Care for Both the Outside and Inside
Preserving retro game cartridges means more than keeping their shells clean. Electrical contacts, circuit boards, save systems, labels, and original packaging all deserve attention. Avoiding moisture, sunlight, heat, and aggressive cleaning methods helps reduce the risk of long-term damage. For collectors, balancing usability with originality is important because a cartridge can hold value beyond simply being a way to play a game.